Learning how to fix a leaking roof is one of the most valuable skills a New York property owner can have. Whether you live in a Manhattan walk-up, a Brooklyn brownstone, or manage a Queens flat-roof building, water intrusion can escalate from a minor drip into thousands of dollars in damage within a single storm. This guide walks you through the exact steps our crews use in the field.
Why NYC Roofs Leak More Than You Think – how to fix a leaking roof
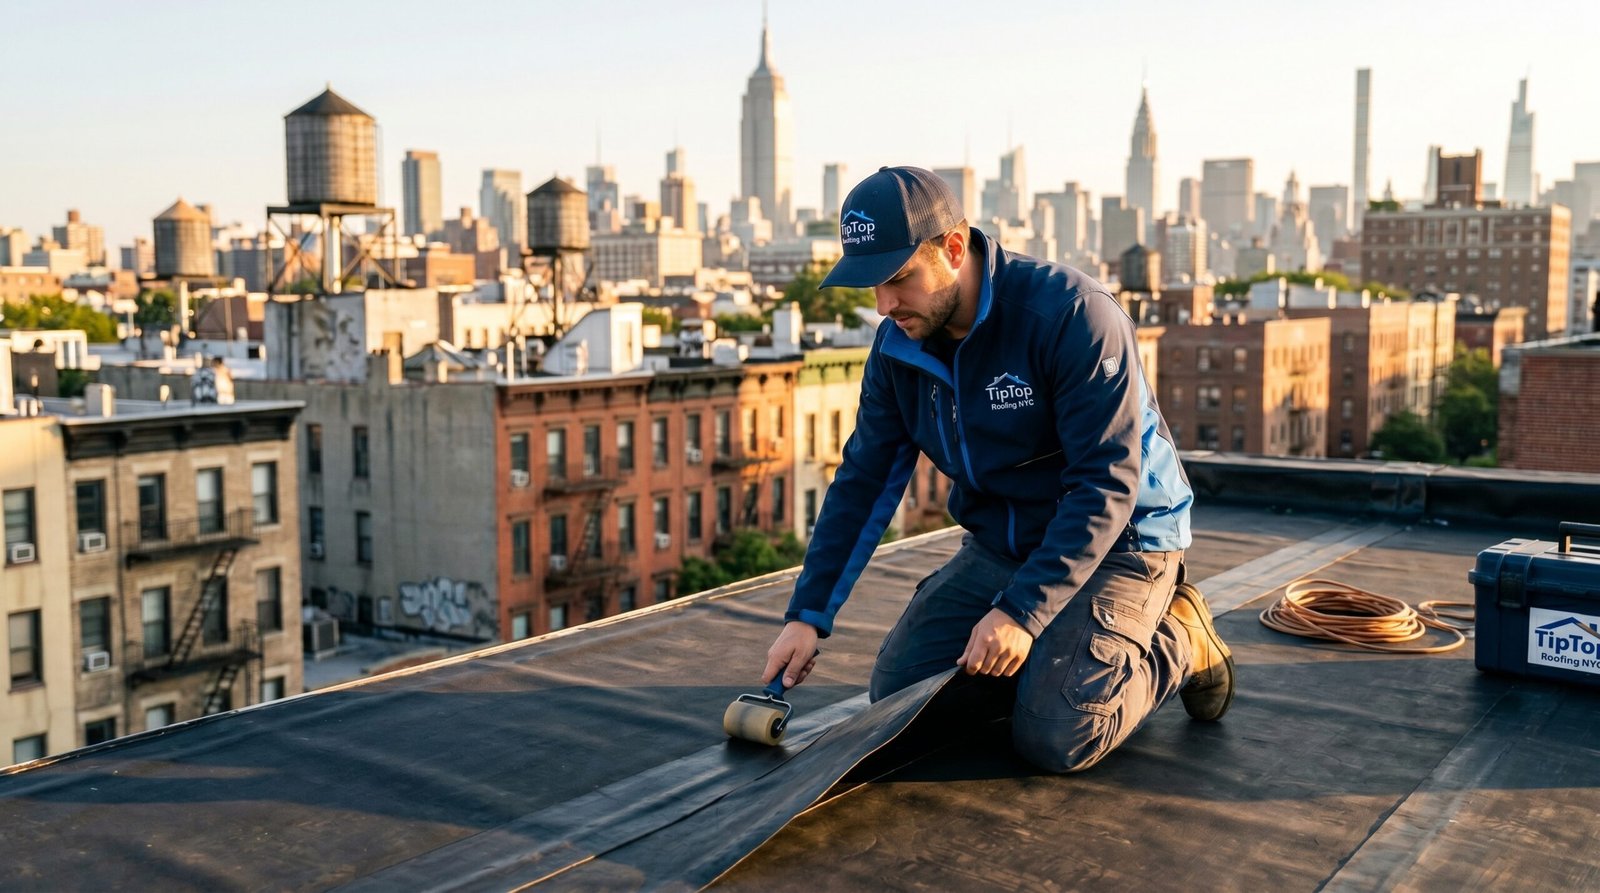
New York’s climate is brutal on roofing systems. Freeze-thaw cycles in winter expand cracks in flashing, summer heat blisters asphalt and EPDM membranes, and wind-driven rain forces water uphill against the natural pitch. Add aging buildings (many over a century old), parapet walls, decorative cornices, and shared roof drains, and you have a recipe for hidden leaks.
Before climbing a ladder or pulling out a tarp, the first rule is simple: water rarely leaks where it appears on your ceiling. It travels along rafters, decking seams, and electrical conduit before dropping. That is why diagnosis matters more than speed.
Step 1: Finding the Source of the Leak
Start inside. In your attic or top-floor ceiling, follow the water trail backward toward its highest point. Stains shaped like rings or rust-colored circles indicate slow, repeated leaks. A soft, sagging area means active saturation.
Common Leak Spots on NYC Flat Roofs
- Around skylights and roof hatches where flashing meets membrane
- At parapet wall junctions, especially where bricks have weathered
- Penetrations for vent pipes, HVAC curbs, and antenna mounts
- Roof drains and scuppers clogged with leaves or pigeon debris
- Seams in EPDM, TPO, or modified bitumen that have lifted with age
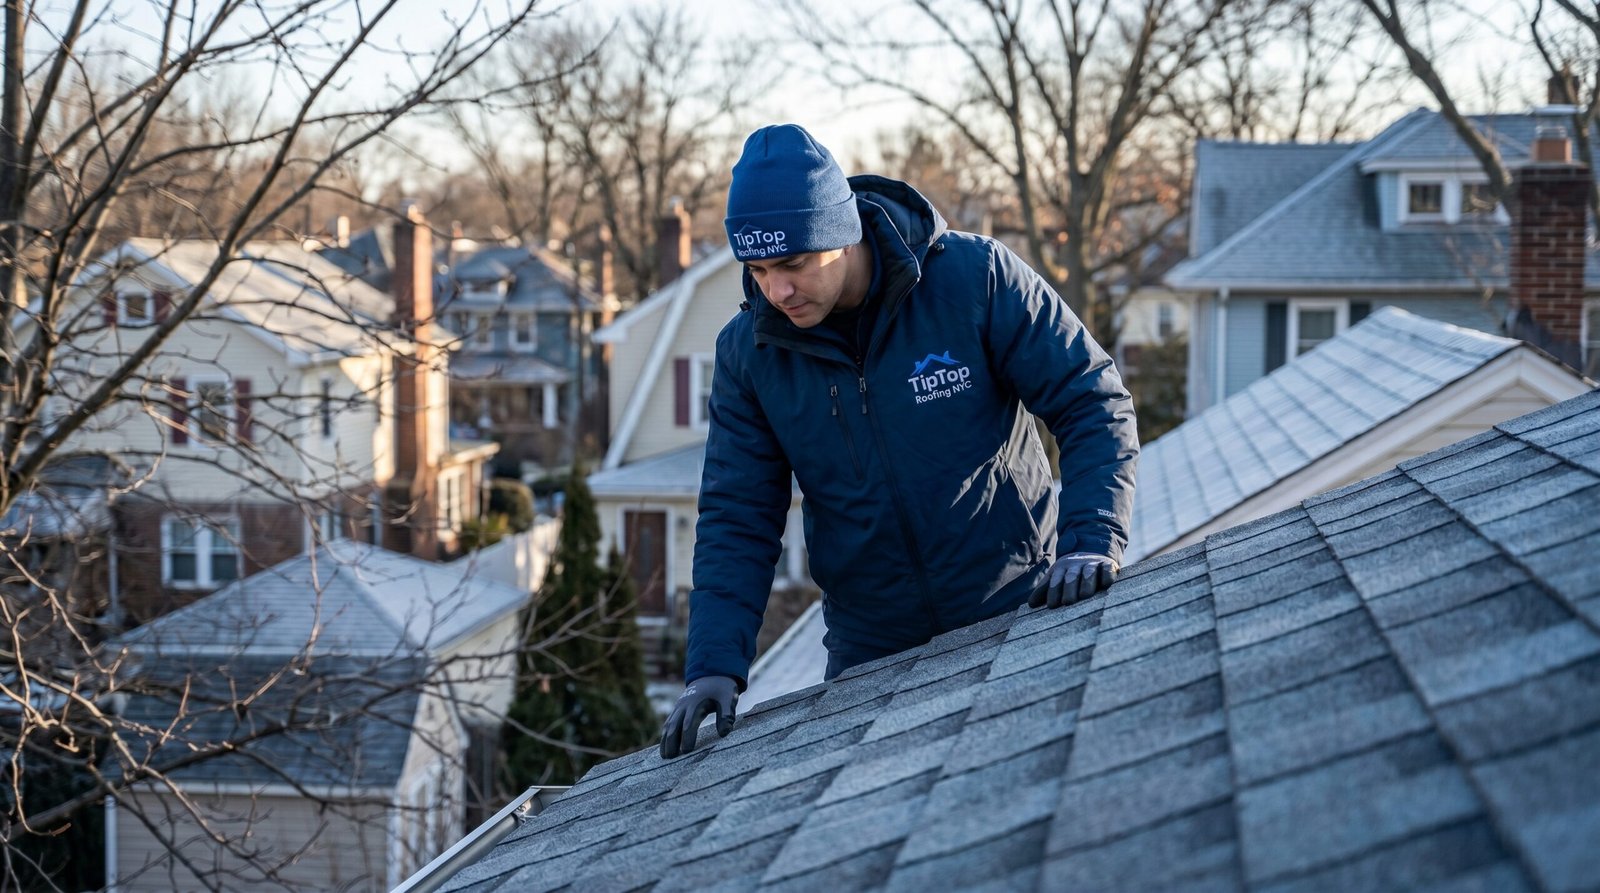
On sloped shingle roofs, look for missing, curled, or cracked shingles, popped nails, and dark streaks running downward from chimneys or dormers. A garden-hose test (have someone watch inside while you spray each section in 5-minute intervals) is often the fastest way to confirm the entry point.
Step 2: Tools and Materials You Will Need
Having the right gear ready before the next storm makes the difference between a contained leak and a flooded apartment. Stock these in a labeled bin:
- Heavy-duty 6-mil polyethylene tarp, at least 10 by 12 feet
- Roofing cement (wet/dry formula) and a 3-inch trowel
- Galvanized roofing nails and 1×3 wood furring strips for tarp anchoring
- Self-adhering rubberized flashing tape (peel-and-stick patch)
- Caulking gun with polyurethane sealant rated for exterior use
- Utility knife, pry bar, and wire brush for surface prep
- Headlamp, knee pads, and a bucket with absorbent cloths
Step 3: Temporary Fixes That Actually Work
A temporary repair is meant to get you safely through the next 72 hours, not the next season. Match the fix to the roof type.
For Flat and Low-Slope Roofs
Clean the area around the leak by sweeping away gravel, dirt, and standing water. Apply a generous trowel layer of wet/dry roof cement directly over the crack or seam, embed a piece of fiberglass mesh, then cover with a second layer of cement. This three-course patch can hold for weeks if applied correctly.
For Shingle Roofs
Lift the damaged shingle gently with a pry bar. Slide a 12-by-12-inch piece of galvanized flashing or a peel-and-stick membrane underneath, then re-secure with two roofing nails on each top corner and seal nail heads with cement. Replace cracked shingles whenever possible rather than just sealing them.
The Tarp Method
For active downpours, a properly anchored tarp is your best friend. Center the tarp over the leak with at least 4 feet of overlap on all sides, sandwich the upper edge between two furring strips, and screw the strips into the roof deck so wind cannot peel it away. Run the lower edge over the eave so water sheds clear.
“A tarp installed correctly buys you time. A tarp installed in a panic at 11 p.m. usually causes more damage than the original leak.”
Step 4: Safety Precautions You Cannot Skip
Roof falls are the leading cause of homeowner injury during repairs. Before you step onto any roof:
- Never work on a wet, icy, or moss-covered surface
- Use an extension ladder rated for your weight, extended 3 feet above the roof edge and tied off
- Wear soft-soled shoes with strong tread, never boots with hard heels
- Use a roofing harness anchored to a structural element on roofs steeper than 4/12
- Keep at least one person on the ground as a spotter
- Stay clear of power lines, especially the service drop entering the building
On NYC buildings with parapets, never lean against the wall to peer over. Old mortar fails without warning. If you live above the second floor, do not attempt the repair yourself, period.
Step 5: When to Call a Professional
DIY has limits. Call a licensed roofer immediately if you encounter any of the following:
- Multiple leaks across different rooms (indicates systemic membrane failure)
- Sagging decking or visible daylight from inside the attic
- Mold, mildew, or persistent musty odors
- Leaks around chimneys requiring custom flashing
- Any work on a roof higher than two stories or steeper than a 6/12 pitch
- Co-op or condo buildings where roof work requires permits and insurance
TipTop Roofing NYC handles emergency leak response across all five boroughs, with crews dispatched within hours during storm events. Our diagnostic visits include moisture-meter readings, drone inspection where access is restricted, and a written report you can share with your insurance carrier.
Final Thoughts
A leaking roof is rarely just one problem. It is a signal that your roofing system is communicating wear. Address the immediate intrusion, document everything with photos, and schedule a professional inspection before the next freeze. Catching small issues early is the single most cost-effective decision you can make as a property owner in New York City.
Key Takeaways at a Glance
The four pillars every homeowner should remember when dealing with roof leaks.
Trace, Do Not Guess
Water travels. Always start diagnosis from inside and work uphill toward the entry point.
Stock Your Kit
A prepared tarp, sealant, and patch kit beats a midnight hardware store run every time.
Safety First
Wet roofs and high winds are no place for DIY heroics. If in doubt, stay on the ground.
Call When It Matters
Multiple leaks, sagging decks, or high pitches always warrant a licensed professional.
“Followed this exact process during last March’s storm. The tarp method held until TipTop’s crew arrived the next morning. Saved my hardwood floors and probably $15,000 in damage.”
Daniel R.
Park Slope, Brooklyn
Frequently Asked
Quick answers from our team of NYC roofing experts.
How long does a temporary roof patch last?
Can I fix a roof leak in the rain?
How much does professional leak repair cost in NYC?
Will my homeowners insurance cover the leak repair?
How can I prevent roof leaks before they start?
Related Articles
Flat Roof Maintenance Schedule for NYC Buildings
A month-by-month checklist to extend the life of your EPDM, TPO, or modified bitumen roof.
Preparing Your Roof for a New York Winter
Ice dams, snow loads, and freeze-thaw damage. How to prep before the first hard freeze hits.
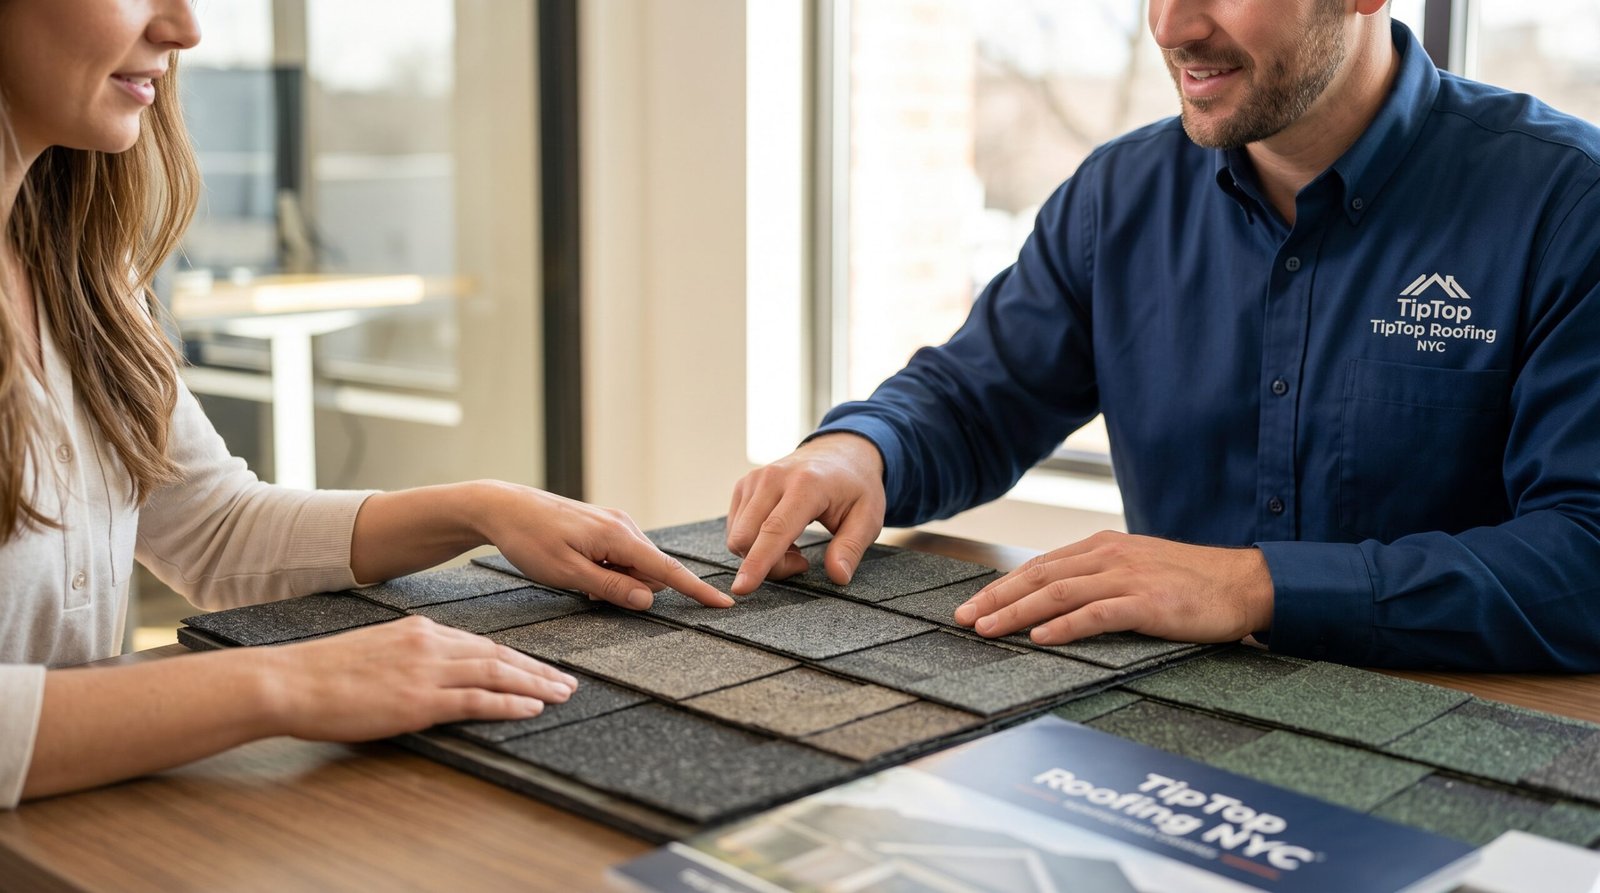
Choosing the Right Shingles for Your Brownstone
Architectural, three-tab, slate, and synthetic options compared for NYC’s historic homes.
Stop the Leak. Protect Your Home.
Whether it is a midnight emergency or a routine inspection, TipTop Roofing NYC is the team New Yorkers trust. Licensed, insured, and based in Manhattan since day one.
550 W 50th St, New York, NY 10019
Our Services
Everything you need, all in one place.